Start Your Crypto Journey Safely: A Complete Guide to Trezor Hardware Wallets
Cryptocurrency offers exciting opportunities, from investing in Bitcoin to exploring decentralized finance. However, with great potential comes significant responsibility—especially when it comes to safeguarding your digital assets. Online wallets and exchanges can be convenient, but they are also vulnerable to hacks, phishing attacks, and technical failures. To truly secure your crypto, using a hardware wallet is essential. Trezor is one of the most trusted names in cryptocurrency security, providing users with an intuitive, safe, and reliable way to store their assets. This guide will walk you through getting started with Trezor and keeping your crypto secure.
What is a Trezor Wallet?
A Trezor wallet is a hardware wallet, a small device that stores your private keys offline. Private keys are the cryptographic codes needed to access and move your cryptocurrency. If someone gains access to your keys, they can steal your funds. By keeping these keys offline, Trezor significantly reduces the risk of hacking and other online threats.
Trezor was launched in 2014 by SatoshiLabs and has been a pioneer in hardware wallet security ever since. Its devices support hundreds of cryptocurrencies, including Bitcoin (BTC), Ethereum (ETH), Litecoin (LTC), and thousands of tokens. Whether you are a beginner or an experienced crypto investor, Trezor provides a secure and versatile solution for managing digital assets.
Why Choose Trezor?
Trezor combines security, ease of use, and flexibility, making it one of the most popular hardware wallets in the world. Here’s why users trust Trezor:
- Robust Security
Your private keys never leave the device, meaning they are completely isolated from the internet. Trezor also requires physical confirmation for all transactions, ensuring that even if your computer is compromised, your funds remain safe. - User-Friendly Interface
Trezor devices are designed to be intuitive, with either a button or touchscreen interface depending on the model. Managing crypto is straightforward, even for beginners. - Multi-Currency Support
Trezor supports more than 1,600 cryptocurrencies and tokens. Using the Trezor Suite app, you can manage multiple assets from a single secure device. - Backup and Recovery
During setup, Trezor provides a 24-word recovery seed, which allows you to restore your wallet if your device is lost, stolen, or damaged. Properly securing this recovery phrase is critical for maintaining access to your funds. - Open-Source Security
Trezor’s firmware is open-source, meaning it can be reviewed and verified by independent security researchers. This transparency ensures users can trust the device.
Step 1: Choosing the Right Trezor Device
Trezor offers two main hardware wallet models:
- Trezor Model One
The Model One is perfect for beginners. It is affordable, supports most major cryptocurrencies, and includes essential security features. It uses buttons for navigation and has a minimalist design, making it ideal for first-time hardware wallet users. - Trezor Model T
The Model T is Trezor’s premium option. It features a full-color touchscreen for easier navigation, additional coin support, and advanced security options. The Model T is best for experienced users or those with a diverse crypto portfolio.
Choosing the right device depends on your needs. Beginners may prefer the Model One, while more advanced users or those handling multiple assets may find the Model T better suited for their goals.
Step 2: Setting Up Your Trezor Wallet
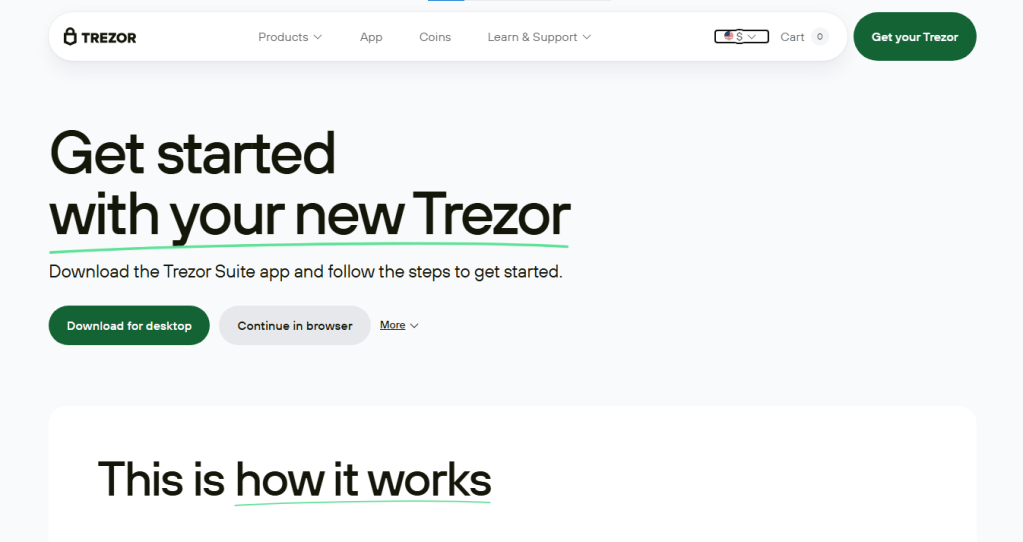
Setting up a Trezor wallet is simple with the Trezor Suite app, available for Windows, macOS, Linux, and mobile devices. Follow these steps:
- Unbox and Connect the Device
Ensure you purchased your Trezor from an official source. Connect it to your computer or smartphone using the provided USB cable. - Install Trezor Suite
Download and install Trezor Suite, the official app for managing your wallet. This software is your interface for sending, receiving, and monitoring crypto assets. - Initialize the Wallet
Follow the on-screen instructions to create a new wallet. Set a PIN to secure your device. - Backup Your Recovery Seed
Trezor will generate a 24-word recovery phrase. Write it down and store it securely offline. This seed allows you to recover your wallet in case the device is lost or damaged. - Install Cryptocurrency Apps
Using Trezor Suite, install apps for the cryptocurrencies you plan to store. For example, install the Bitcoin app for BTC or the Ethereum app for ETH and ERC-20 tokens.
Step 3: Managing Your Cryptocurrency
Once your Trezor wallet is set up, you can start sending and receiving crypto securely:
- Receiving Crypto
Open the relevant app in Trezor Suite and generate a receiving address. Share this address with the sender. Your funds will appear in your wallet once confirmed on the blockchain. - Sending Crypto
To send crypto, enter the recipient’s address in Trezor Suite, input the amount, and confirm the transaction on your Trezor device. Physical confirmation ensures that malware cannot alter your transaction. - Portfolio Management
Trezor Suite offers a clean interface to track balances, monitor transactions, and view your crypto portfolio in real time.
Step 4: Best Practices for Security
Even with a Trezor wallet, following security best practices is essential:
- Store Your Recovery Seed Offline
Never store your 24-word seed digitally or share it. Keep it offline and in a safe place. - Enable Passphrase Protection
Trezor allows you to add an optional passphrase for additional security. - Keep Software Updated
Regularly update Trezor Suite and your device firmware to benefit from the latest security features and patches. - Avoid Phishing Scams
Only access Trezor Suite through official channels. Trezor will never ask for your PIN or recovery phrase online.
Conclusion
Trezor hardware wallets provide a secure, reliable, and user-friendly way to protect your cryptocurrency. By keeping your private keys offline, offering multi-currency support, and providing a simple interface for managing crypto, Trezor makes safeguarding digital assets straightforward. Following proper setup procedures and security best practices ensures your crypto remains safe, giving you peace of mind as you explore the opportunities of the cryptocurrency world.
Starting with Trezor is more than buying a device—it’s taking control of your digital future, protecting your investments, and building confidence in your crypto journey.